
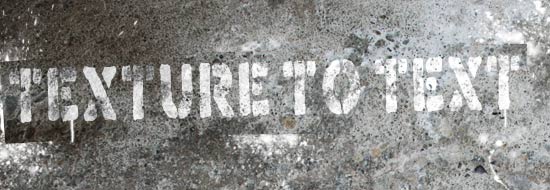
A big trend for the last few years has been using texture in design. In this quick Photoshop tutorial I’ll show you how to maximize the texture look, by allowing the background texture to show through the text. This tutorial will be handy if you want to fake some graffiti or stencil art on a wall.
To get the texture to show through your text you could adjust the blend mode of the text layer to something like Soft Light or Multiply, or you could lower the opacity of the text layer, however you won’t have the control to create a really good effect.
Create a new canvas
Ctrl + N
Mine is 600 x 300px if you want to follow along. Save the psd. I named mine texture-to-text.psd
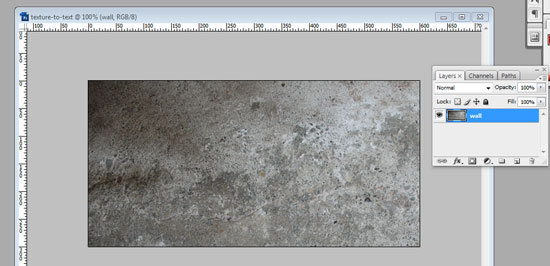
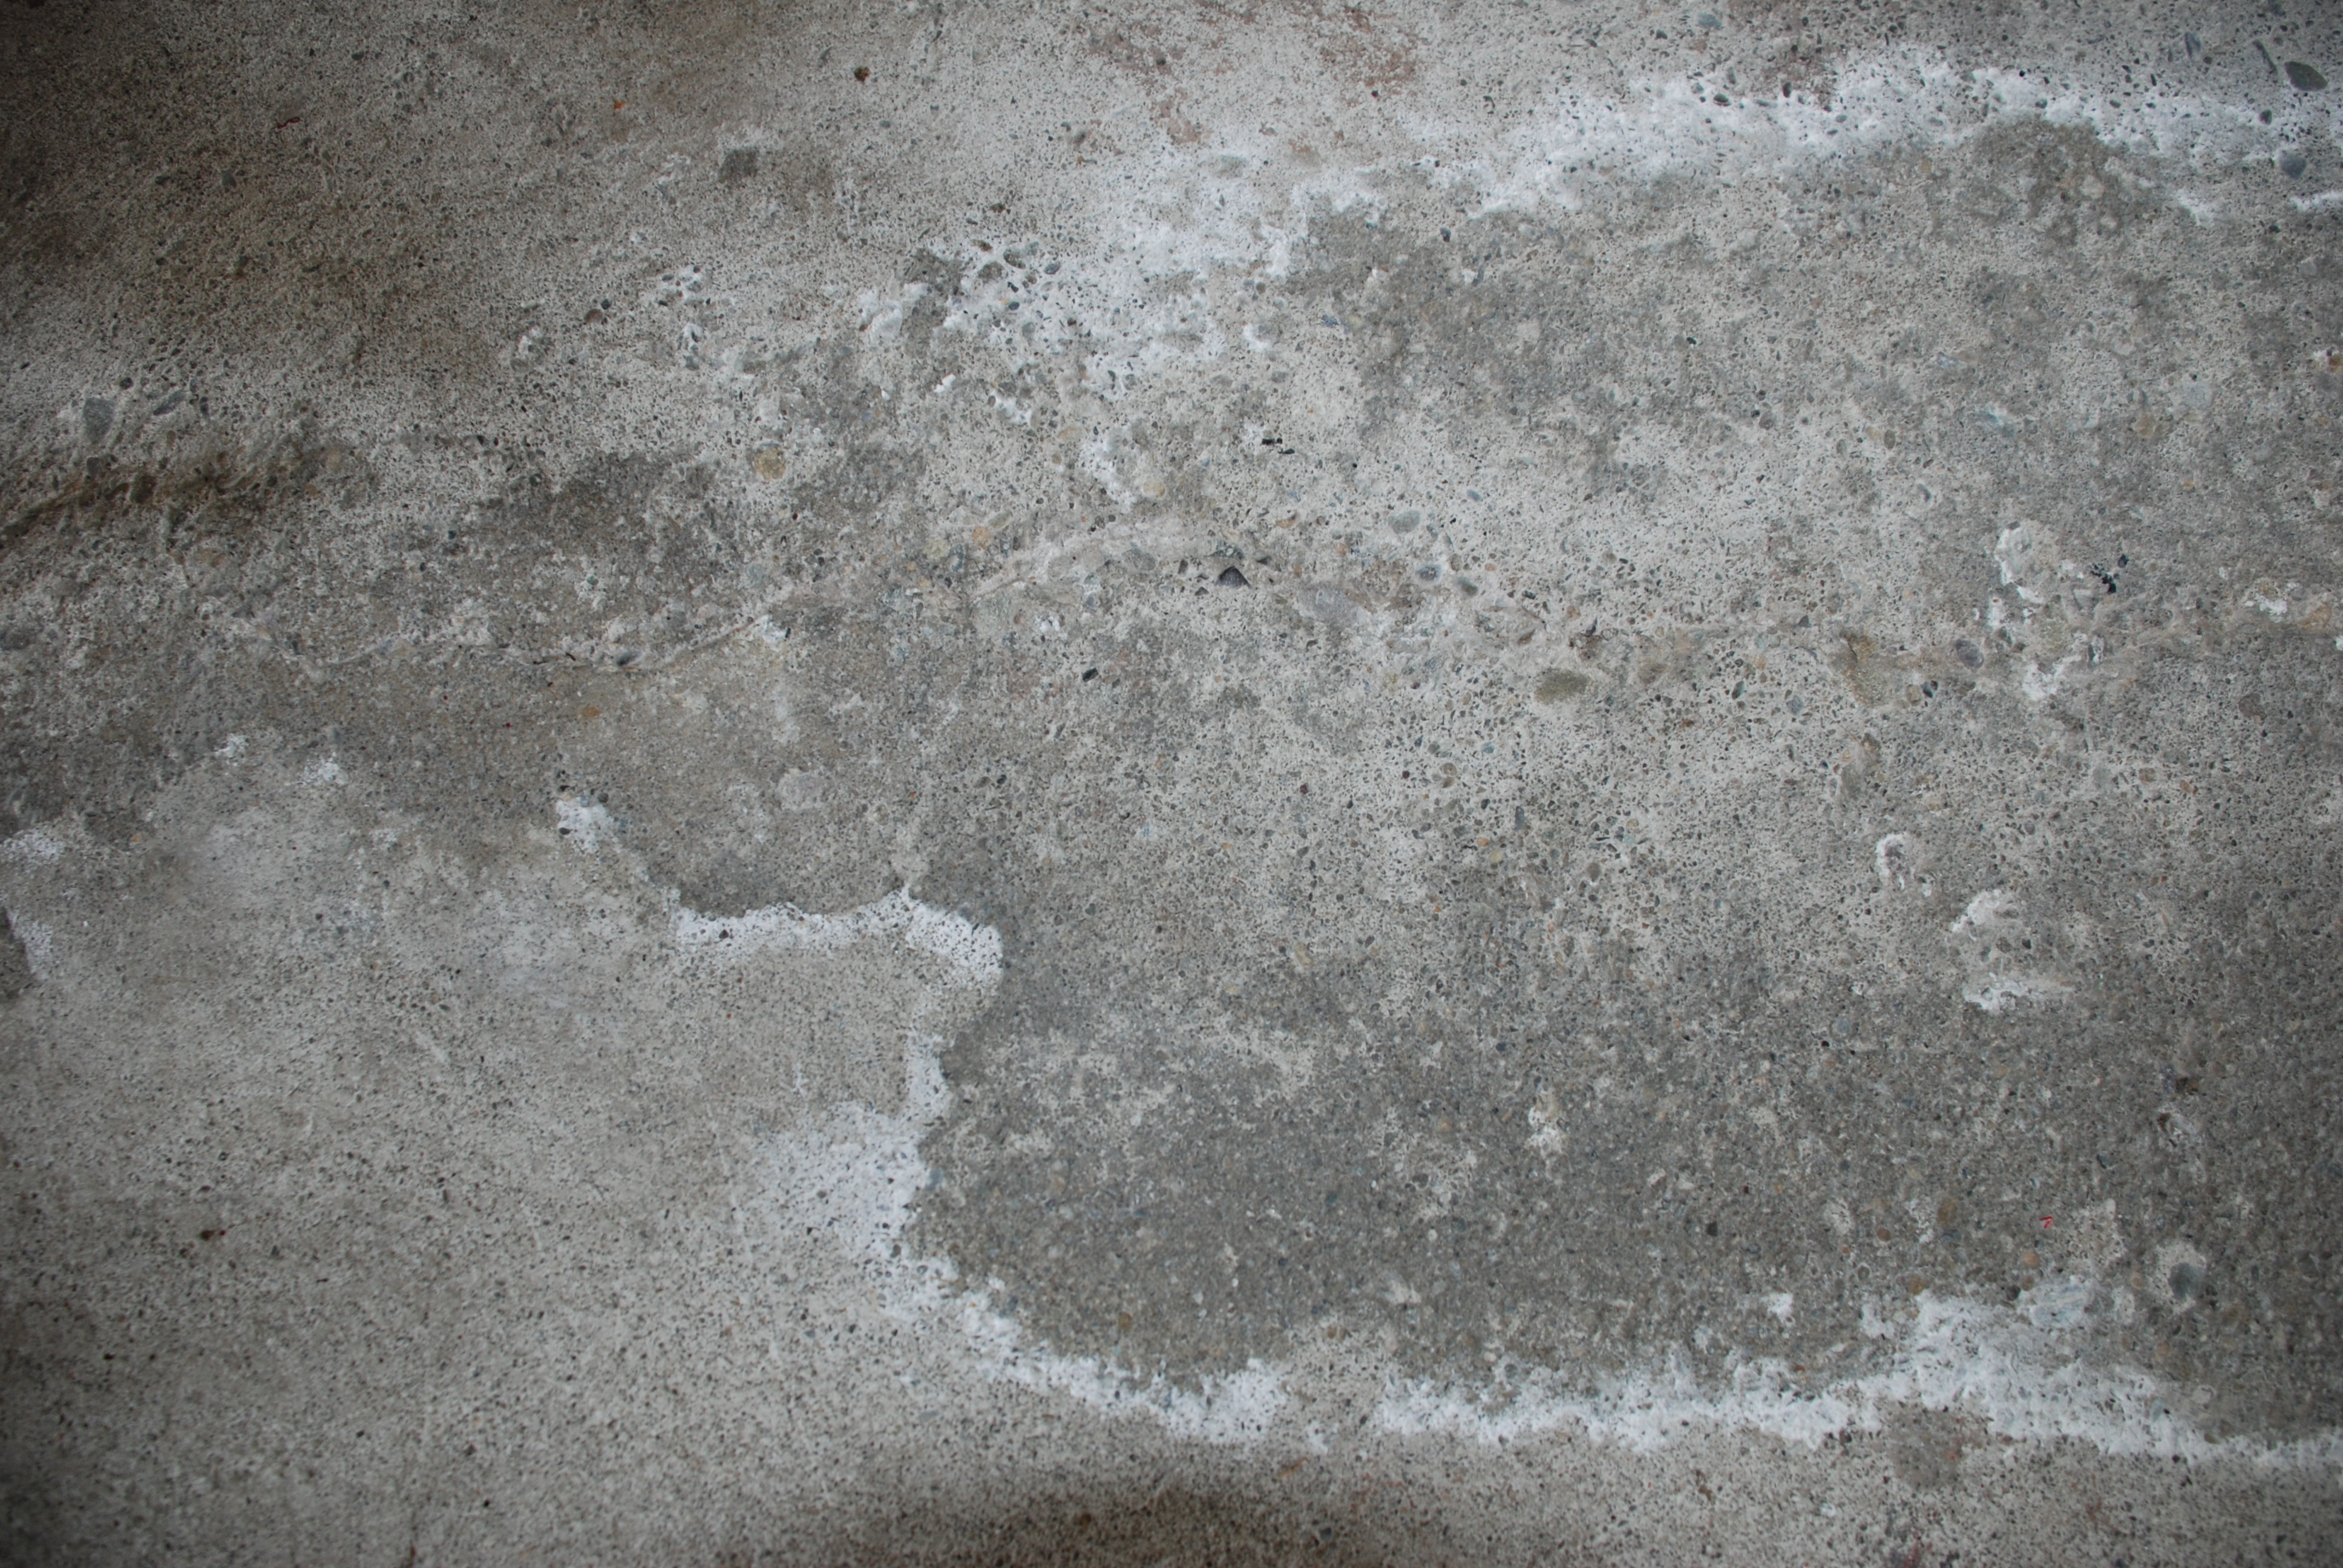
Next open up wall texture photo. I’m using a concrete texture found here.
Drag your texture image on to your new psd and name the layer “wall”.
The concrete image I’m using was huge for this project, so I scaled it down using transform to 25%.
Ctrl + T

You can delete your original “background” layer. See image below…
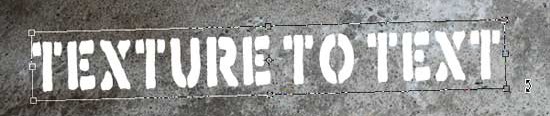
Select your Type Tool. I’m using an excellent stencil font “Know Your Product” which is available here to download. Type in your text. It doesn’t matter what colour font your choose at this stage, as we will adjust it later.

In Photoshop everything is neat and perfect, so to make it more realistic it’s best to mess things up a little. I rotated my text -1.5 degrees using transform. Ctrl + T
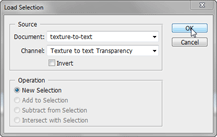
Once you’re happy with the general layout of the text, select the shape of text by going to your top menu options.
Select >> Load Selection…
In your layers menu, click on the “wall” layer.
Then copy Ctrl + C
Then paste Ctrl + V
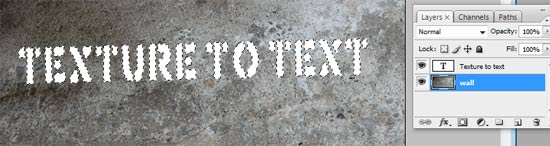
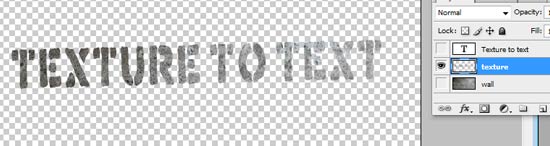
If you turn off the visibility of “wall” layer and the original text layer, you’ll see the new layer you have created is your text in the texture of the wall.
Remove the colour, from this new layer. We are only interested in the highlights and shadows.
Image >> Adjustments >> Desaturate
Adjust the contrast of this textured writing by adjusting the curves. This step will make the texture “pop”.
(So you can see the result as you go, turn on the visibility of the “wall” layer but leave the original text layer’s visibility off)
Image >> Adjustment >> Curves
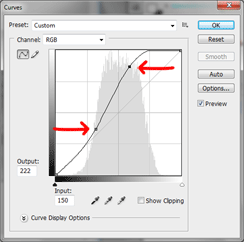
The line in the “Curves” dialogue box will appear as a diagonal. Click on this diagonal line twice and drag these two markers until your line forms an “S” shape (as shown above). The lower marker will increase the black values as you pull it right. The upper marker will decrease the grey values as you push it left. The exact shape of YOUR “S” curve will depend on YOUR picture, so watch your image as you move these markers until you achieve the desired result.
The result should look something like the image below.

Now change your textured text to the colour you want by using Colour Overlay.
Layer >> Layer Style >> Color Overlay
Depending on the colour you want, the Blend Mode and Opacity will need to be adjusted.
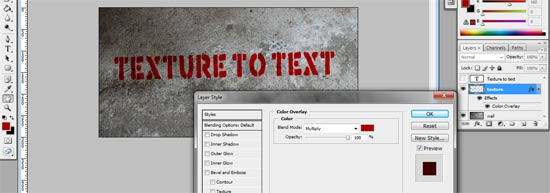
For dark colours, try using the blend mode Multiply and light colours try Overlay…you’ll need to experiment to get it just right.
Turn on the visibility original text layer. Change the colour of the text layer to the same option as you used for the colour overlay and rasterize the layer. (Layer >> Rasterize >> Type)
Roughen up this layer to reveal some of the layer below by using a scratchy easer. (I used the Spatter 24, flow set to 50%). Lower the opacity of this layer until it looks good to your eye.
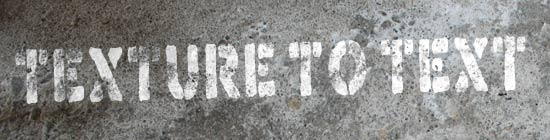
Finally some extra styling touches. Add in a couple of paint runs. I used the brushes dribbb27 & dribbb23 (with master diameter set down to about 45), you can download the Free Photoshop Brushes here.
To imitate the stencil look, I used the Polygonal Lasso Tool and created a rough rectangle selection around the text. Then I inverted the selection, and used various small spray and splatter brushes at the corners and a little on the sides.
I hope you enjoyed this tutorial!


Awesome tutorial… looks very authentic. Thanx
Thank you so much. Great tutorial!
Xcelnt!!!!!!!!! Muchas gracias, Te sigo.
awesome
Hello There. I found your weblog using msn. This is a really well written article. I will make sure to bookmark it and come back to learn extra of your useful info. Thank you for the post. I’ll certainly return.
Man, great tutorial.. I made awesome sticker 🙂 Thanks
you helped me a lot with this awesome tutorial! thanks:)
Thanks for visiting our site and the positive feedback on the tutorial! I hope to write some new tutorials later this year.
Great tutorial. But how did you make the concrete texture? It looks really nice.
The concrete is a photo. See the text link up the top “concrete texture found here”. The concrete texture is a royalty-free stock image found on this site 🙂
Hey – quick question. First of all, this website is AMAAZZZZING!
About this tutorial – how do you change your text? What if I don’t want it to say what I originally decided? I can’t seem to change the actual text – just the bkg text. Insight?
Thanks again