There’s already millions of Adobe Photoshop brushes available for free. It’s a good idea to create your own brushes because…
a) It’s super easy and fast to do
b) Not all brushes you download for free are available for commercial use and you never know, if your not doing professional work now, you might be in the future
c) Versatility, you may not find what you’re looking for
d) Freedom to share your brushes with others
To create the intial splatters I used some black Student’s Acrylic Paint, mixed it with water, then experimented flicking a paint laden brush at some white paper. I also found using a teaspoon and dropping drips from varying heights quite good. In 10 minutes I had well over 20 good quality splatters, drips, dribbles and spray.
Step 1.
Scan in your page. Choose Grayscale as there’s no colour needed in your final brush.
Step 2.
Create a new PSD (Ctrl + N). Use the settings shown below…(These settings are for CS2, CS3 and CS4)
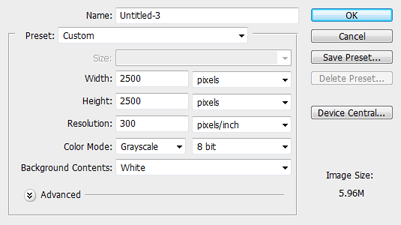
* If you are using Photoshop CS then make the dimensions 1000px
Step 3.
On your scanned in image use a selection tool to select the part of the splatter that you like.
Copy (Ctrl+C)
Paste (Ctrl+V)
Step 4.
Drag and drop this layer to your new large PSD. Use Transform to scale the “splatter” layer
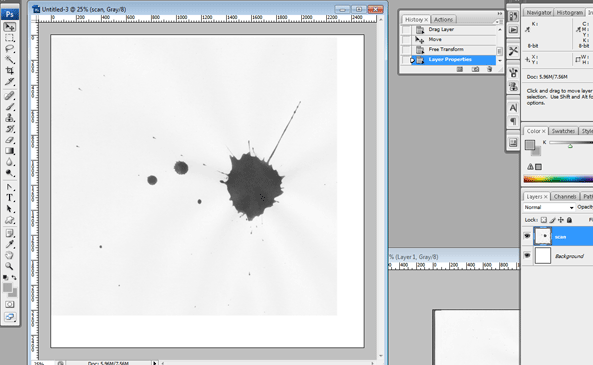
Step 5.
The final step for perfecting the brush is to create a nice clean black and white image. The black areas will become the brush, the white areas will drop out. You can see in the image above my layer still shows the paper and has shadows where the paper has rippled.
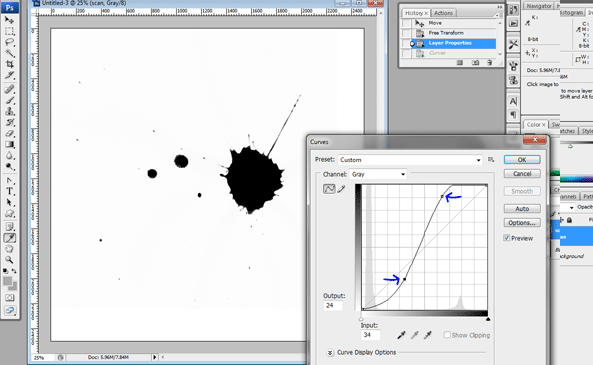
Use Image >> Adjustments >> Curves…
Click on this diagonal line twice and drag these two markers until your line forms an “S” shape (as shown below). The exact shape of YOUR “S” curve will depend on YOUR picture, so watch your image as you move these markers until you achieve the desired result.
You can also use Bightness/Contrast and crank up the contrast but it’s not as good in my opinion.
Image >> Adjustments >> Brightness/Contrast…
You can use a white paint brush to paint in any extra unwanted parts.
Finally it’s a good idea to use the Eyedropper Tool and click around the non-brush white areas and make sure it is white (ffffff). If it is even of a fraction removed from being perfect white then it’s going to show up when you use the brush multiple times in the same overlapping area, which may be a problem.
Step 6.
Edit >> Define Brush Preset…
Name your new brush and click OK
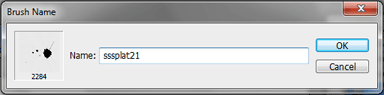
Your new Photoshop brush is now ready to use!
To create an .abr file, so you can save and share your Photoshop Brushes continue reading…
Step 7.
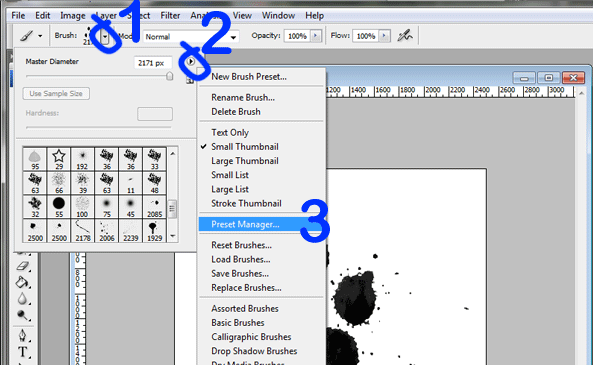
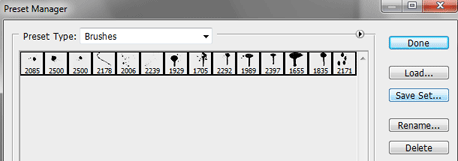
Select your brush tool, and then select Preset Manager (see image below)
Select the brush or multiple brushes (hold ctrl and click on each one you want) and SAVE.
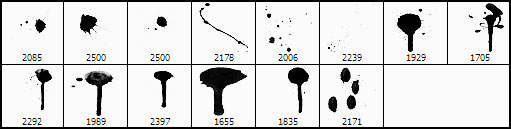
If you want to download the brush I made in this tutorial use the link below. The brush set contains 14 FREE Adobe Photoshop Brushes -Splatter, drip, dribble. Free to use in commercial and non-commercial projects. Enjoy!
14 FREE Adobe Photoshop Brushes -Splatter, drip, dribble
Tags: creating brushes in Photoshop, Photoshop brushes, Photoshop tutorial


Great post. Very refreshing given all the duplicate content out there. Thanks for doing something original.
Very interesting, thanks Melissa.